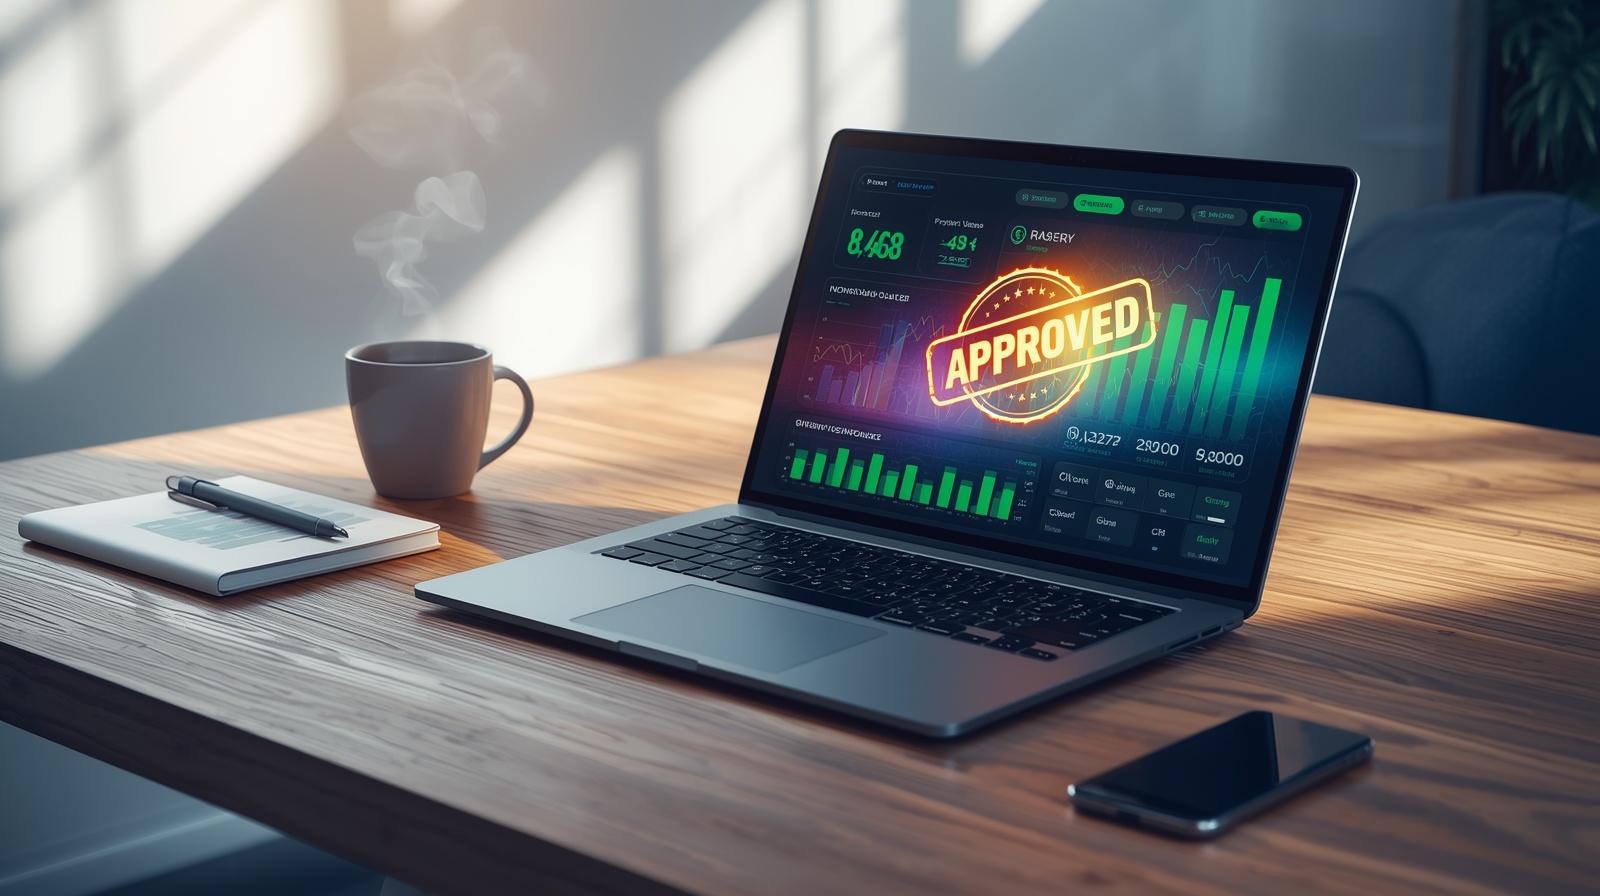
Installing WordPress is your first step toward online success. It is the most popular Content Management System globally. Millions of websites rely on this powerful platform. However, the installation process can seem intimidating. Many beginners feel overwhelmed by databases and servers. Therefore, this comprehensive guide will simplify everything.
We will cover every method in great detail. You will learn automatic installations. You will also learn manual installations. Furthermore, we will explore local server setups. By the end, you will be an installation expert.
Understanding WordPress and Its Requirements
Before installing, you must understand the basic requirements. WordPress is software. Therefore, it needs a specific environment to run. It does not run on thin air. It requires a web server.
You need a domain name first. This is your website address. Second, you need a web hosting account. Your hosting stores your website files. Moreover, your hosting must meet strict technical criteria. According to the official WordPress.org requirements, your host must support specific software versions.
Your server needs PHP version 7.4 or greater. It also needs MySQL version 5.7 or greater. Alternatively, MariaDB version 10.4 or greater works perfectly. HTTPS support is also completely mandatory today. Without these, WordPress will fail to operate properly.
Comparing Installation Methods
There are three primary ways to install this software. Each method serves a different type of user. Therefore, you must choose the one that fits your skill level.
Method 1: The Automatic Installation Process
This is the easiest method available. Most premium web hosts offer a one-click installer. Softaculous is the most common auto-installer script. However, Installatron and Fantastico are also widely used.
This method handles the database creation automatically. It extracts the files for you. Moreover, it links everything together seamlessly. Therefore, beginners should always use this method.
Step 1: Log into Your Hosting Control Panel
First, access your web hosting account. Navigate to your main control panel. This is usually cPanel. However, some hosts use custom dashboards. Look for your login credentials in your welcome email. Enter your username and password carefully.
Step 2: Locate the Auto-Installer
Once inside cPanel, scroll down. Look for a section titled "Software" or "Auto Installers." Click on the "Softaculous Apps Installer" icon. If you do not see Softaculous, look for a WordPress icon directly. Click that icon to proceed.
Step 3: Choose the WordPress Script
Softaculous displays many applications. Hover over the WordPress logo. Click the bright blue "Install" button. This takes you to the main setup page. Here, you will configure your new website.
Step 4: Configure the Software Setup
You must fill out several important fields. First, choose your installation URL. Select the "https://" protocol. Therefore, ensure your SSL certificate is active. Next, choose your domain from the dropdown menu.
Leave the "In Directory" field completely empty. If you type "wp" here, your site will install in a subfolder. Your URL would become yourdomain.com/wp. You want it on the main domain. Therefore, keep that box blank.
Step 5: Configure Site Settings
Next, enter your Site Name. This is your brand name. Then, enter your Site Description. This is a short tagline. You can easily change these later.
Step 6: Create the Admin Account
This step is absolutely critical for security. Do not use "admin" as your username. Hackers always guess "admin" first. Choose a unique, complex username.
Next, generate a very strong password. Use numbers, symbols, and mixed cases. Weak passwords destroy websites daily. Therefore, you must practice good password hygiene. You can learn more by reading our guide on testing five password habits and how hackers break them.
Finally, enter a valid admin email address. WordPress sends password resets to this email. Therefore, it must be accessible.
Step 7: Complete the Installation
Scroll to the very bottom. You can optionally select a basic theme here. However, skipping this is fine. Click the final "Install" button.
A progress bar will appear. Do not close the window. The process takes roughly one minute. Once finished, you will see a success message. It will display your new login URL. Usually, this is yourdomain.com/wp-admin.
Method 2: The Manual Installation Process
Sometimes auto-installers fail. Sometimes you need total control over the environment. Therefore, manual installation is a necessary skill. It takes longer. However, it teaches you how the software actually works. This method requires an FTP client. It also requires cPanel access.
Step 1: Download the WordPress Core Files
First, go to the official website. Navigate to WordPress.org. Click the "Get WordPress" button. Download the latest .zip file to your computer. Extract this folder on your desktop. You will see a folder named "wordpress." Inside, there are many files and directories.
Step 2: Upload Files to Your Web Server
You must move these files to your hosting server. You can use an FTP client. FileZilla is a great, free choice. Alternatively, use the cPanel File Manager.
Log into cPanel. Click on "File Manager." Navigate to the public_html directory. This is the root folder for your primary domain. Click "Upload" at the top. Select the downloaded .zip file. Wait for the upload to reach 100%.
Once uploaded, right-click the .zip file. Select "Extract." The files will extract into a folder called "wordpress." You must move these files. Open the "wordpress" folder. Select all files. Move them directly into public_html. Finally, delete the empty "wordpress" folder and the original .zip file. This saves server space.
Step 3: Create a MySQL Database
WordPress cannot function without a database. It stores all your text, users, and settings there. Therefore, you must create one manually.
Go back to your main cPanel dashboard. Find the "Databases" section. Click on "MySQL Databases."
First, create a new database. Enter a name. For example, "wp_data". Click "Create Database." Write this name down immediately.
Step 4: Create a Database User
Scroll down on that same page. Find the "MySQL Users" section. You need to create a user for your new database.
Enter a username. Generate a highly secure password. Click "Create User." Write down both the username and the password. You will need them shortly.
Step 5: Assign the User to the Database
You have a database. You have a user. Now, you must link them. Scroll down to "Add User to Database."
Select your new user from the first dropdown. Select your new database from the second dropdown. Click "Add."
A new page will load. It asks for privileges. Check the box labeled "All Privileges." This gives WordPress full control over the database. Click "Make Changes." Your database is now fully prepared.
Step 6: Run the Famous Five-Minute Install
Open your web browser. Type your domain name into the address bar. Press enter. Because WordPress is uploaded but not configured, the setup wizard will launch.
First, select your preferred language. Click "Continue."
Next, a welcome screen appears. It tells you what information you need. You already have this information. Click "Let's go!"
Step 7: Enter Database Connection Details
A form will appear. You must fill in the database details you just created.
Database Name: Enter the name you created.
Username: Enter the database user.
Password: Enter the database password.
Database Host: Leave this as "localhost".
Table Prefix: Change "wp_" to something random like "x7k_". This improves security.
Click "Submit." WordPress will test the connection. If everything is correct, you will see a success message. Click "Run the installation."
Step 8: Enter Site Information
This is the final step. It is identical to the auto-installer setup. Enter your Site Title. Create a secure Admin Username. Paste your strong password. Enter your Admin Email.
You will see an option regarding Search Engine Visibility. Do not check this box unless you want to hide your site from Google. Click "Install WordPress." You are done. You can now log into your dashboard.
Method 3: Installing WordPress on a Localhost
Sometimes you want to build a site offline. You might want to test new plugins safely. Therefore, a local installation is perfect. It turns your personal computer into a web server. Only you can see the site.
Step 1: Download Local Server Software
You need software to emulate a server. XAMPP is the most popular choice for Windows. MAMP is the best choice for Mac. Go to the Apache Friends website to download XAMPP. Download the installer.
Step 2: Install XAMPP
Run the XAMPP installer. It will ask which components to install. You only need Apache, MySQL, PHP, and phpMyAdmin. Uncheck the others. Proceed with the installation. It might take a few minutes.
Step 3: Start the Server Modules
Open the XAMPP Control Panel. You will see several modules listed. Click the "Start" button next to Apache. Then, click the "Start" button next to MySQL. The text background will turn green. Your local server is now running perfectly.
Step 4: Create the Local Database
Open your web browser. Type "localhost/phpmyadmin" into the address bar. Press enter. This opens the database manager.
Click on the "Databases" tab at the top. Enter a database name in the text field. For example, "local_wp". Click "Create." You do not need to create a user for localhost. The default user is "root" with no password.
Step 5: Download and Move WordPress Files
Download the WordPress .zip file from WordPress.org. Extract the files.
Now, find the XAMPP installation folder on your computer. Usually, it is in C:\xampp. Open the htdocs folder. This is your local public directory.
Create a new folder inside htdocs. Name it your project name. Let us use "mywebsite." Copy all the extracted WordPress files into this new "mywebsite" folder.
Step 6: Run the Local Setup Wizard
Open your web browser again. Type "localhost/mywebsite" into the address bar. Press enter. The setup wizard will appear.
Select your language. Click "Let's go!"
Enter your database details. The Database Name is "local_wp". The Username is "root". Leave the Password field completely blank. Leave the Database Host as "localhost".
Click "Submit." Then, click "Run the installation." Fill out your site title and admin details. Click install. Your local website is now ready for development.
Essential Post-Installation Configurations
Your installation is complete. However, your work is not finished. A raw installation requires immediate optimization. You must adjust default settings for better performance and SEO. Do not skip these crucial steps.
Configure Your Permalinks Structure
Permalinks are the permanent URLs for your individual pages. The default structure is terrible for SEO. It uses ugly ID numbers. You must change this immediately.
Log into your WordPress dashboard. Go to "Settings." Click on "Permalinks." Select the "Post name" option. This makes your URLs clean and readable. For example, it changes /?p=123 to /your-post-title/. Scroll down and click "Save Changes." This simple tweak massively boosts your search rankings.
Delete Default Dummy Content
WordPress installs default placeholder content. It includes a sample post titled "Hello world!". It includes a sample page. It includes a sample comment. You do not need these. They look unprofessional.
Go to "Posts" and select "All Posts." Trash the default post. Go to "Pages" and trash the default page. Go to "Comments" and delete the dummy comment. Start your website with a clean slate.
Update Your Timezone Settings
Your website needs to know your location. This ensures scheduled posts publish at the correct time. Go to "Settings." Click on "General." Scroll down to the Timezone dropdown. Select your specific city or UTC offset. Save the changes.
Configure Reading Settings
You must decide how your homepage looks. By default, it displays your latest blog posts. However, businesses usually want a static landing page.
Go to "Settings" then "Reading." At the top, select "A static page." Choose the page you want for your homepage. Choose the page you want for your blog feed. Save your changes.
Securing Your New WordPress Installation
Security is a massive priority. A fresh installation is vulnerable. Hackers deploy automated bots constantly. These bots scan the internet for weak WordPress sites. Therefore, you must lock the doors immediately. Ignorance is your biggest enemy here.
Change the Default Login URL
By default, every login page is located at /wp-admin. Hackers know this. They will brute-force this page relentlessly. You must hide it.
Install a security plugin immediately. WPS Hide Login is a great, lightweight choice. It allows you to change the URL. You can change it to /my-secret-door. This stops automated bot attacks instantly.
Implement Strong Security Practices
Many website owners fail at basic security. They leave default settings untouched. They install pirated themes. These errors are catastrophic. You must educate yourself on modern threats.
A single mistake can cost you your entire business. Therefore, review the most dangerous pitfalls immediately. Read our detailed breakdown of the 7 common cybersecurity mistakes in 2026. Implementing these fixes takes only minutes. However, they save you from massive headaches later.
Install an SSL Certificate
We mentioned this earlier. However, it requires repeating. Your site must have an SSL certificate. It changes your address from HTTP to HTTPS. It encrypts user data.
Most hosts provide free Let's Encrypt certificates. Activate it in your cPanel. Then, install the "Really Simple SSL" plugin in WordPress. It forces all traffic through the secure connection. Google punishes sites without SSL. Therefore, it is a strict requirement.
Supercharging Your New Website with AI
Your foundation is built. Now, you need content. You need design. Building a website takes massive effort. Writing blog posts takes hours. Designing graphics takes days. However, the landscape has changed dramatically. Artificial Intelligence is now your best employee.
You must integrate AI into your workflow immediately. It drastically reduces your workload. It improves your output quality. Many professionals are achieving incredible efficiency. You can learn exactly how to replicate this success. Discover the secrets to AI productivity and doing 5 hours of work in 30 minutes.
Utilizing AI for Content Generation
WordPress is primarily a publishing platform. You need articles. You need landing page copy. AI chatbots excel at this. They can generate outlines in seconds. They can draft complete articles quickly.
However, choosing the right tool is vital. Different AI models have different strengths. Some are better at creative writing. Others excel at technical coding. You must compare the market leaders. Read our comprehensive analysis of ChatGPT vs Claude vs Gemini to find the best AI in 2026. This ensures you use the most capable assistant for your specific tasks.
Free AI Tools for Web Design
You do not need a massive budget to build a beautiful site. The internet is full of powerful, free utilities. You can use AI to generate stock photos. You can use it to write custom CSS code. You can use it to generate color palettes.
These tools give you a massive competitive advantage. They level the playing field against large agencies. Start exploring these utilities immediately. We have compiled a list of the top free AI tools for 2026 that feel almost illegal to know. They will transform your web design process entirely.
Furthermore, if you are building an online business, you need specialized software. You need tools for marketing, SEO, and analytics. Artificial intelligence handles these tasks brilliantly now. Expand your toolkit by reviewing the best AI tools for students, creators, and businesses in 2026.
Troubleshooting Common Installation Errors
Sometimes, things go wrong. Servers can be temperamental. Do not panic if you see an error. Most installation issues are easily fixed. Here are the most common problems and their solutions.
The White Screen of Death
This is a classic WordPress error. You load your site, and nothing happens. The screen is completely blank white. This is usually caused by a PHP memory limit exhaustion.
To fix this, you must access your files via FTP. Locate the wp-config.php file. Open it with a text editor. Add this specific line of code: define( 'WP_MEMORY_LIMIT', '256M' );. Save the file and re-upload it. This usually solves the problem instantly.
Error Establishing a Database Connection
This error is very straightforward. WordPress cannot talk to your database. You likely entered the wrong credentials during setup.
Open your wp-config.php file again. Verify your database name, username, and password. Make sure there are no accidental blank spaces. Check that the user has "All Privileges" assigned in cPanel. Correcting a simple typo usually fixes this instantly.
The 500 Internal Server Error
This is a generic server error. It is frustrating because it lacks specific details. However, it is usually caused by a corrupted .htaccess file.
Log into your site via FTP. Find the .htaccess file in your public_html folder. Rename it to .htaccess_old. Try loading your site again. If it loads, log into your WordPress dashboard. Go to Settings, then Permalinks. Click "Save Changes." This forces WordPress to generate a brand new, clean .htaccess file.
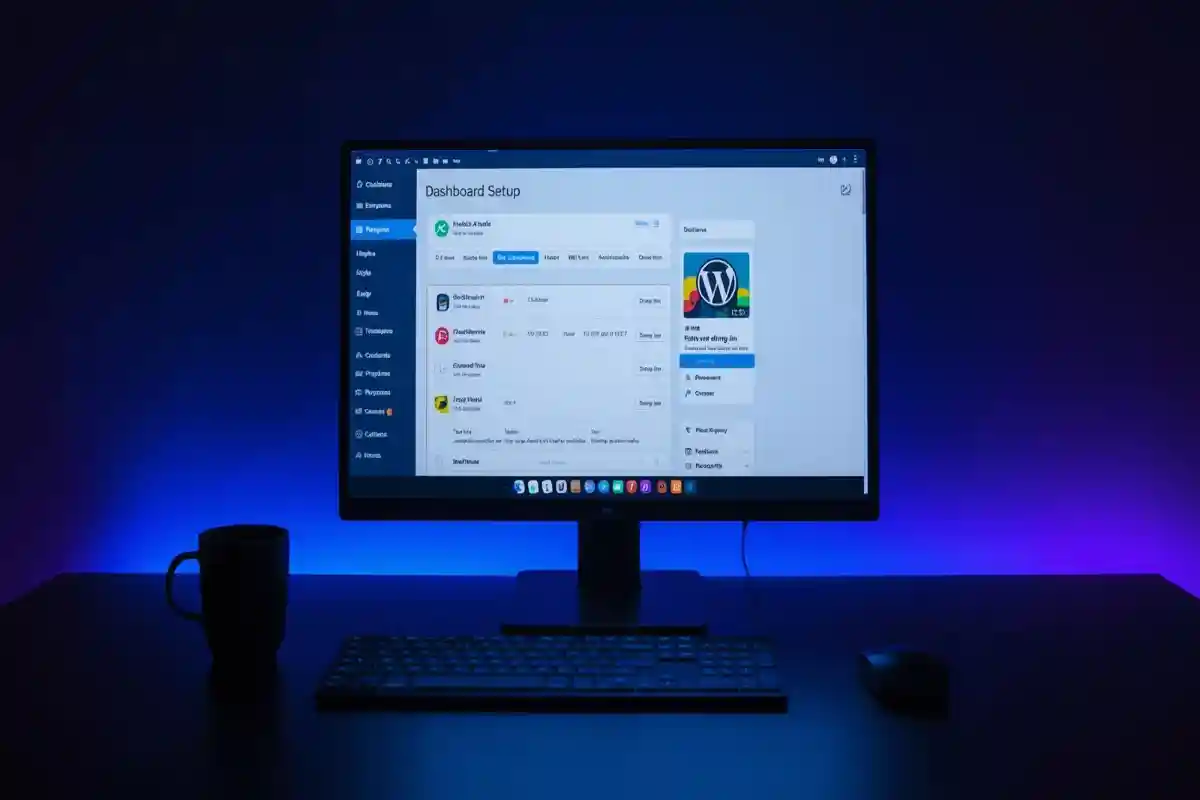
Installing Essential Plugins
WordPress core is very basic. Plugins add functionality. They are like apps for your phone. You need a few essential plugins immediately after installation.
First, install an SEO plugin. Yoast SEO or Rank Math are excellent choices. They help you optimize your pages for Google. Second, install a caching plugin. LiteSpeed Cache or W3 Total Cache are great. They make your website load incredibly fast.
Third, install an image optimization plugin. Smush is a popular option. It compresses your images automatically. This saves space and improves loading speeds. Finally, install a backup plugin. UpdraftPlus is highly recommended. It schedules automatic backups to your Google Drive. Therefore, your data is always safe.
Choosing and Installing a Theme
Your theme controls your website's appearance. It dictates the layout, colors, and typography. A bad theme will slow down your site. A bad theme will hurt your SEO. Therefore, choose wisely.
Go to "Appearance" then "Themes" in your dashboard. Click "Add New." You can browse the free repository here. However, premium themes often offer better support and features.
GeneratePress and Astra are two of the best themes available. They are incredibly lightweight. They load instantly. Furthermore, they are highly customizable. Install your chosen theme. Click "Activate." You can now begin customizing your website visually.
Conclusion
Installing WordPress is a major milestone. You now have a functional, powerful platform. You understand the automatic installation method. You understand the manual installation method. Furthermore, you know how to build a local testing server.
Remember to prioritize security from day one. Change your login URLs. Use complex passwords. Update your permalinks immediately. Moreover, leverage the power of AI to build your content faster.
Your journey is just beginning. Building a successful website takes time and dedication. However, the technical foundation is now solidly in place. You are fully equipped to share your message with the world. Therefore, start creating, start optimizing, and watch your online presence grow.